Rollovers in Dreamweaver
A rollover is an image in your page, that turns to something else, when someone rolls the mouse over it. For example, a menu item might highlight, or a lightbult might light up, when the mouse rolls over it.
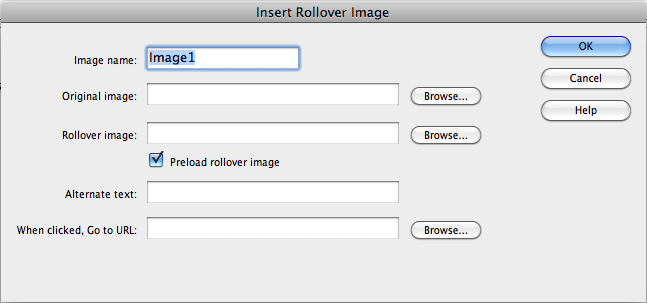
To create a rollover, click Insret -> Image Objects -> Rollover image. The following dialog box will come up:
Browse to find the rollover images (origina and rollover) that will be swapped out. I picked two images more or less at random. Here's what my rollover looks like:

Run the mouse over the image. The gum image should be replaced by a totally different image.
I think this displays the idea very well, but if you want a rollover that really looks like it's doing something, you would need to spend a little more care in selecting and editing your images.
When I'm using rollovers, I usually use an old version of Photoshop that creates the rollovers automatically using the program "Image Ready". These days Adobe is promoting Fireworks, another rollover program, which I am less excited about.
Create a five element rollover menu using some images I will give you.
I found the images at http://www.odoks.com/sleek-rollover-buttons but don't try to download them there, the site is some kind of virus site. Instead download it from this page which is virus free.
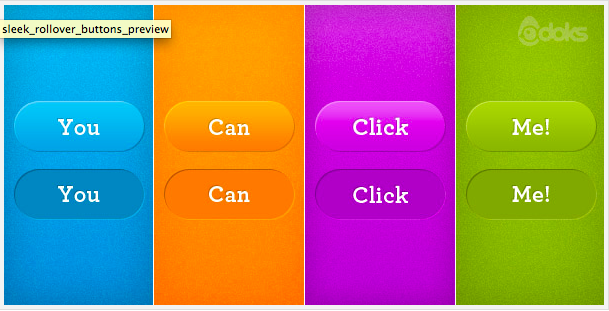
You will need to write a web page, with a table, one row and four cells. Each cell will have a rollover image in it, which you will name with id= you, can, click, me; which corresponds to the names on the buttons..
Then take the image and cut it up. This will be tricky. You need to cut up each image the same size and same alignment. You can do this in photoshop or in one of the free online graphics programs. I have put a couple of links on our website. For example Google and Yahoo and Adobe all have free editing programs you can use. But Photoshop would be my first choice.
Here's what mine looks like:

|

| 
|

|
If you are using photoshop here's one way to cut up the images:
Load the image. This now has only one layer. Duplicate the layer so that you have two identical layers. Now move the upper layer so that it lines up with the up button images right on top of the down images. Crop to get rid of the excess above and below. Now you will have an image about 80 pixels high with two layers, one up, one down, and they line up. Make four copies of this image and call them you, can, click, me (all are psd files).
Now crop each image. You now have four psd files, each with two layers, and they line up, and they are all the same height, about 80 pixels.
For each image, use the "save for web" option twice, once with the up layer on, once with the up layer off and the down layer on. Name the files you-up.png, you-down.png etc.
You will now have eight png images you can use for the rollovers.
If you use one of the online graphics programs it's going to be very hard to accurately slice the image. Oh well. Do your best. If the images jump around a little bit when they go up and down, I'll understand, just do your best.
If you absolutely cannot slice up the image, then you can download the images from this page. View source to get the filesnames and then download them one at a time. This is the whimpy way to do it, a real man would do his own button cropping.
There is a feature called "Image Ready" in older versions of Photoshop (pre-CS versions) that makes slicing images really easy. It would be worth buying one of these old versions to get that feature. It's much better than the new versions.